Getting the Most Out of Automarking: A Step-by-Step Guide to Smarter Assessments
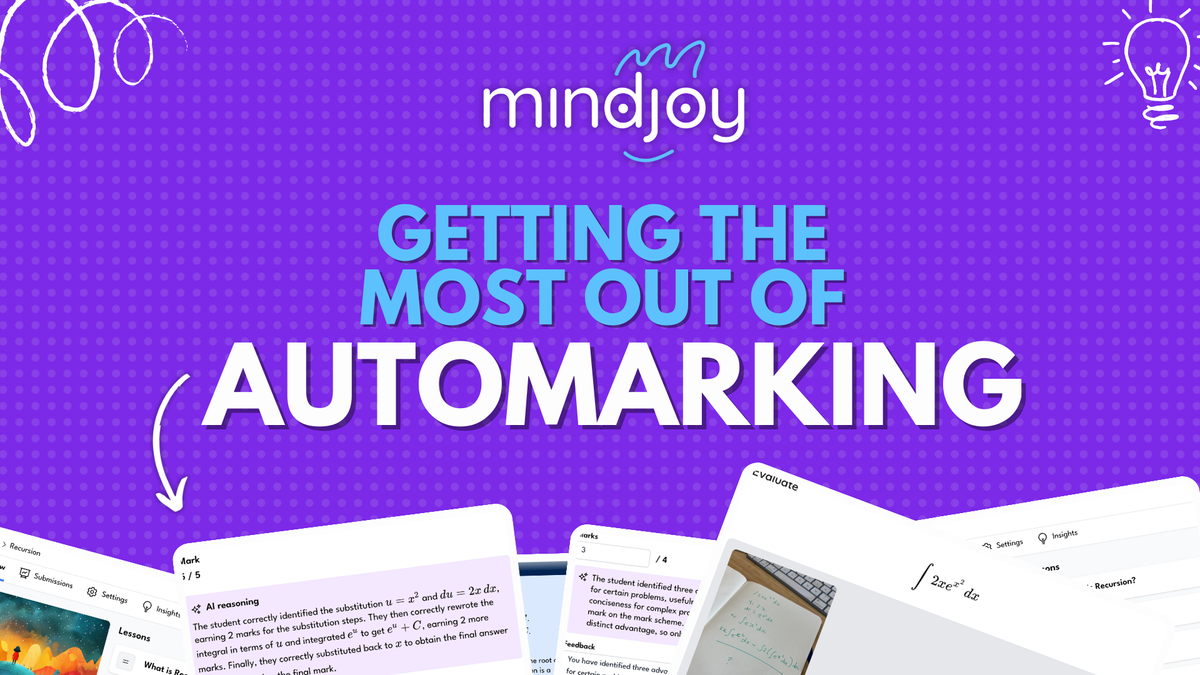
We've introduced Courses with our innovative Automarking feature, designed to bring AI-assisted grading into the classroom. Automarking is here to save educators time and make grading more consistent, insightful, and personalised. It allows teachers to focus on what truly matters: assessing meaningful learning.
Here's how you can set it up to benefit your students and streamline the grading process:
Step 1: Add Your Question
Begin by writing your assessment question or importing one. Automarking supports various response formats, from text to images, so you’re not limited to traditional answer styles.
Don't forget that students can submit images as answers so don't be limited in the kind of questions you ask - diagrams, written work and even screenshots of other applications can all be understood in the marking process.
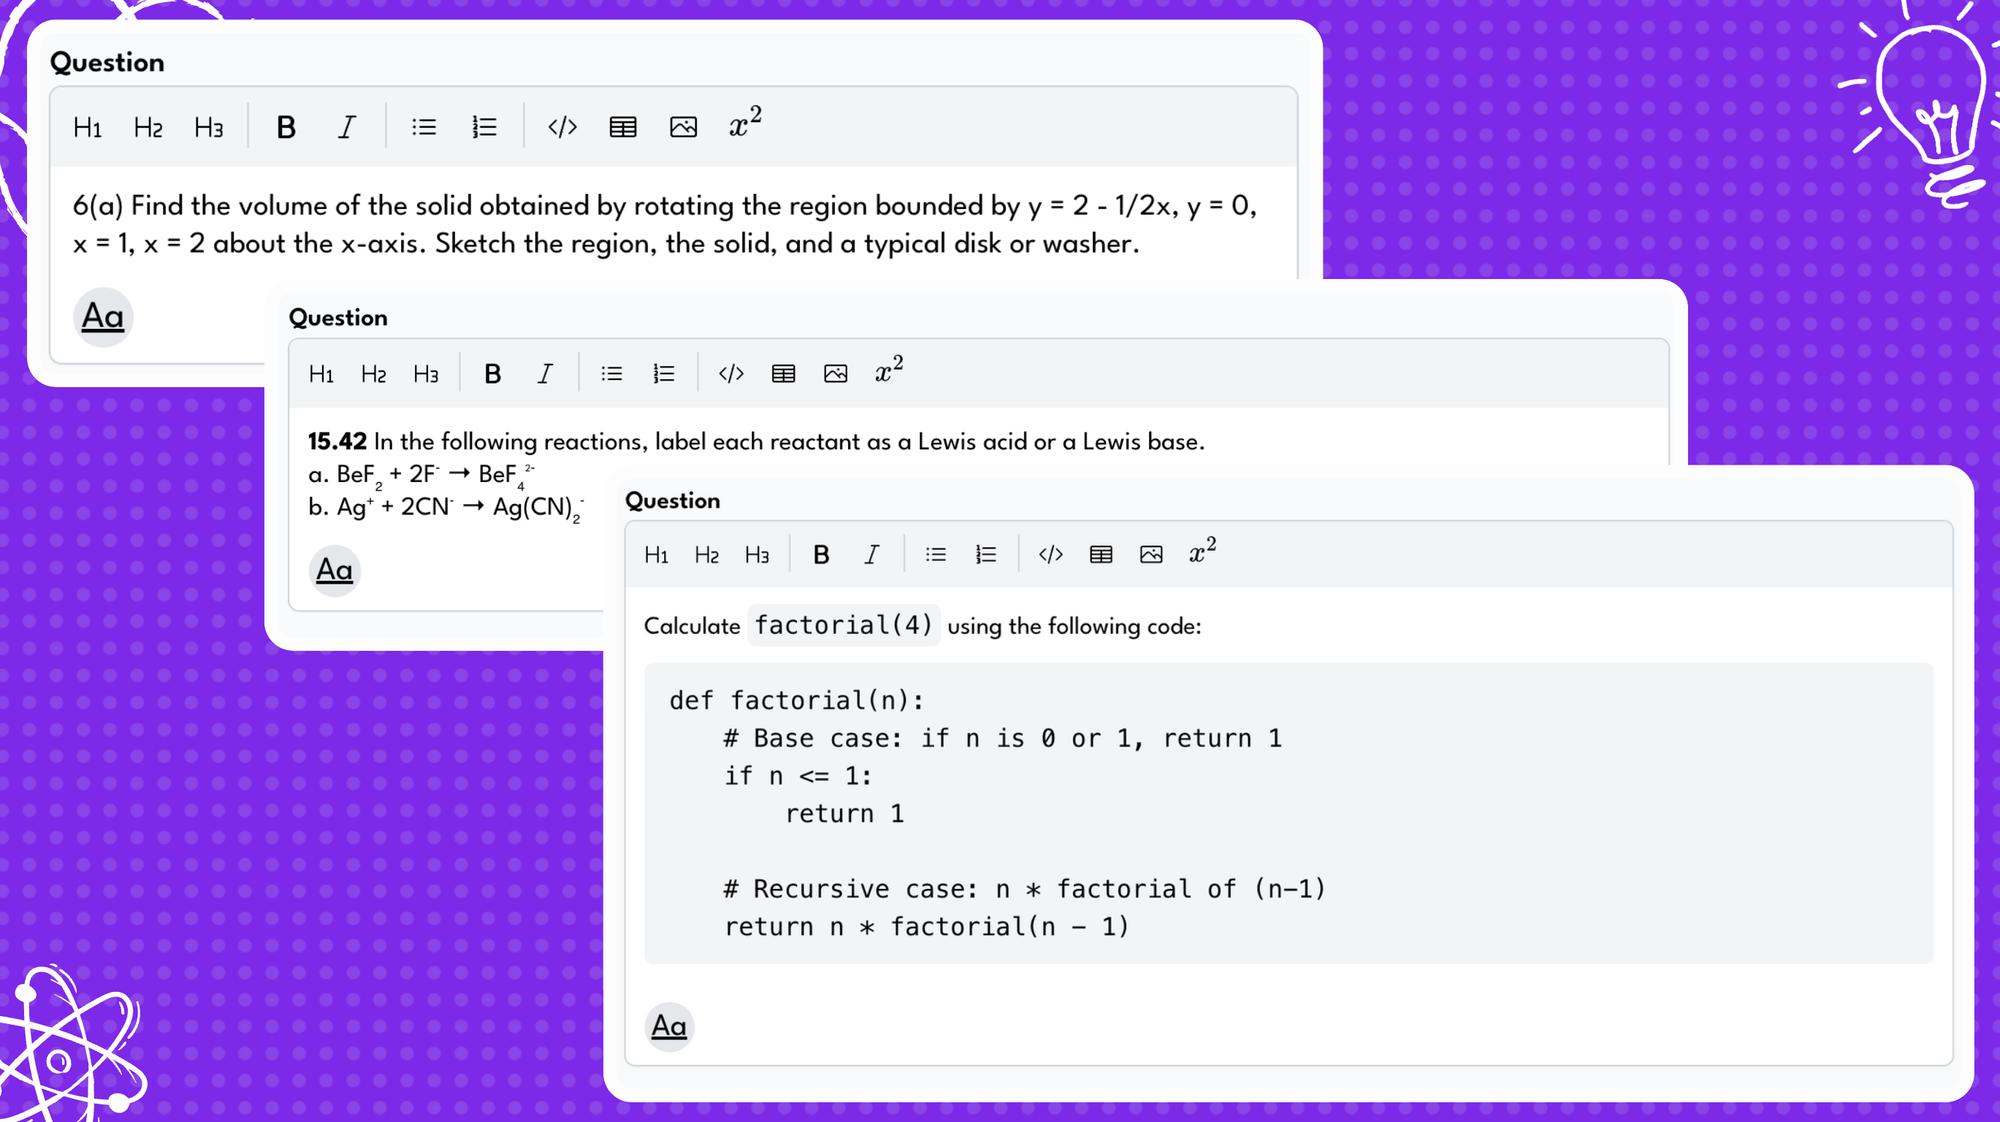
Top Tip: Create questions that encourage thoughtful responses. Short answers might be better suited for multiple-choice questions. For more complex responses, longer answers allow Automarking to offer detailed feedback.
Step 2: Set the Maximum Mark
Decide on the total marks for your question, considering its depth and breadth. Automarking adapts to your chosen mark distribution.
Top Tip: Once you’ve defined your mark scheme (in Step 3), ensure it aligns with the required answer depth. Automarking adjusts to your criteria, so setting the maximum mark now is a guide for your marking setup.
Step 3: Define Your Mark Scheme
This step is key to effective Automarking. Outline your grading criteria, whether it’s an answer key, mark scheme, or rubric. Automarking is designed to closely mirror human grading.
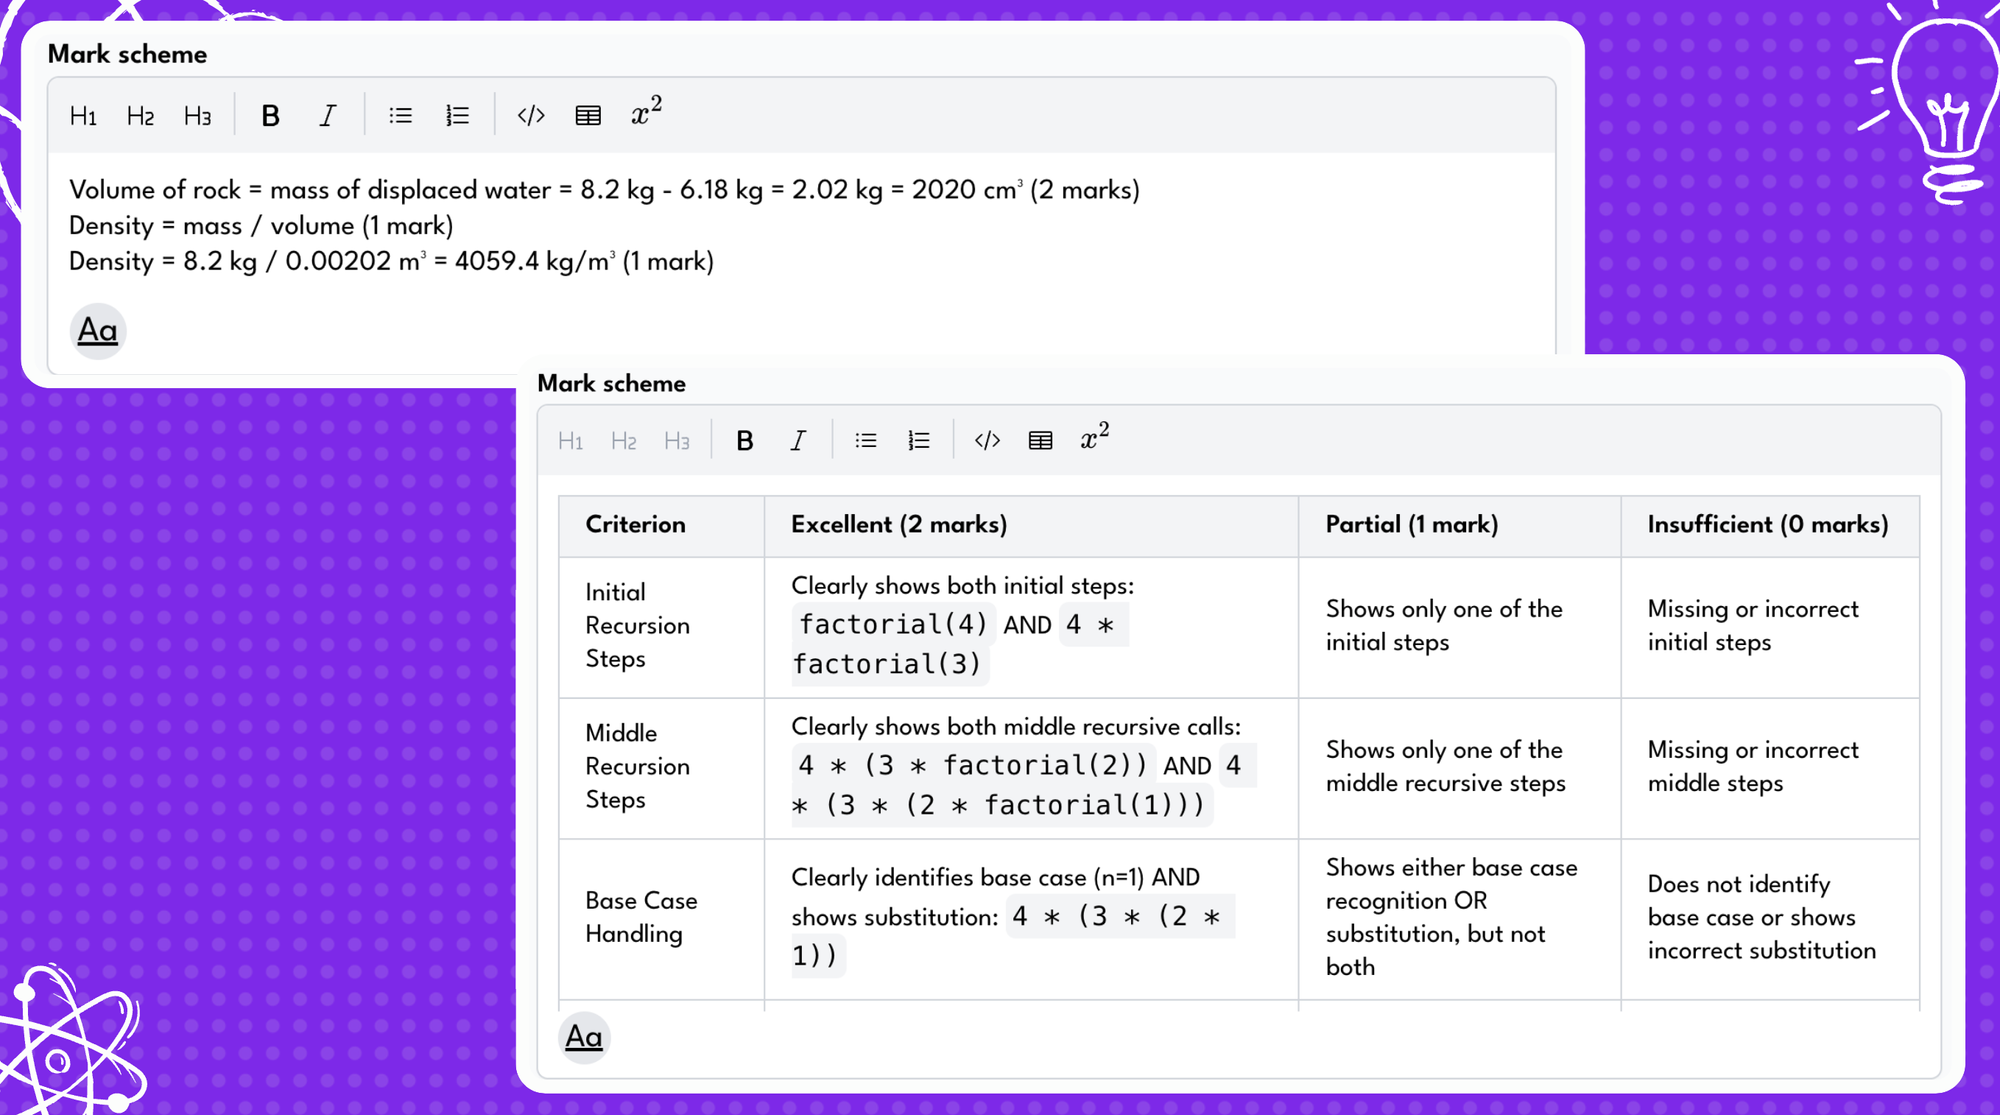
Top Tip: Write your mark scheme as if guiding a human marker. Specify which answers don’t receive credit, highlight key points, and note different response weightings. If you're marking diagrams then the mark scheme should explain what should be seen in the solution diagram. With Automarking you can mark process workings in more detail than ever before - so let it do its magic! ✨
Step 4: Preview the Marking
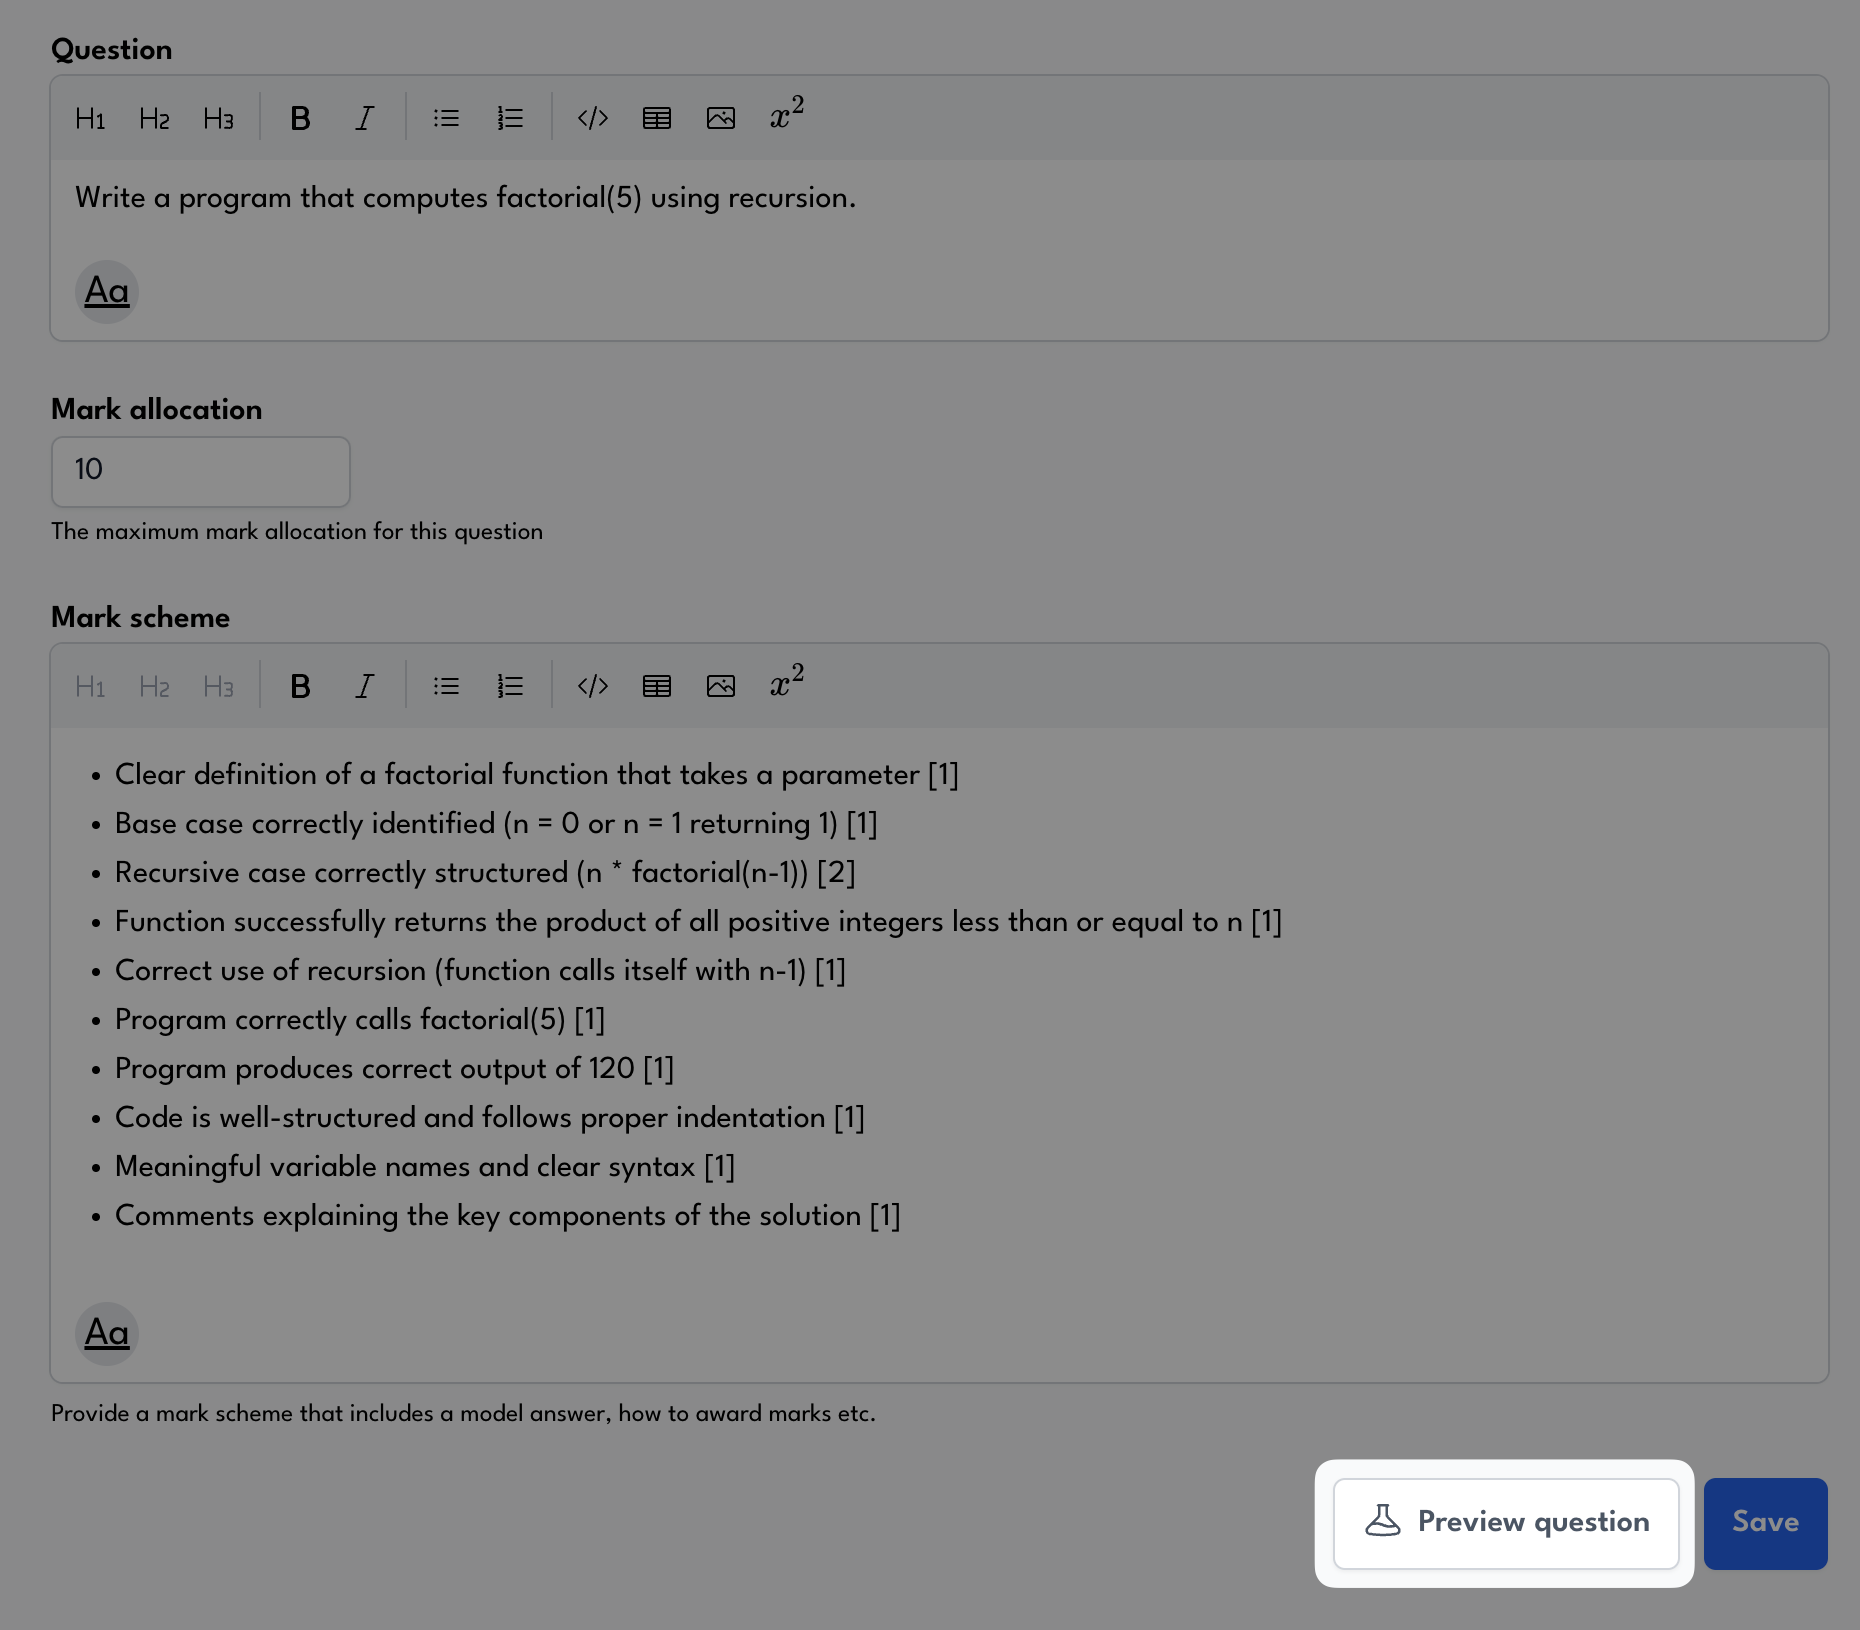
Once you've got your Automarking set up, why not try it out and see exactly how it will assess answers? If you have some worked or partial answers to hand head to the preview question button at the bottom of the page and take a look at what the justification and feedback will look like. This allows you to tweak your markscheme with some further guidance: is there a standard of literacy needed in the response? Are you negatively marking mistakes?
Top Tip: Most subjects have some unwritten rules around marking that you learn the first time you assess something and then never really think about again, AI hasn't learned these unwritten rules - write them down in the mark scheme! Commonly this could be things like "Don't allow adjectives without explanations" in order to avoid situations where students write "Faster" and then don't elaborate.
Step 5: Review Student Work and Automated Feedback
As students submit their work, Automarking generates grades and feedback based on your criteria. In the Results tab, review each marked response. Automarking provides reasoning for each grade, allowing you to moderate and adjust feedback as needed.
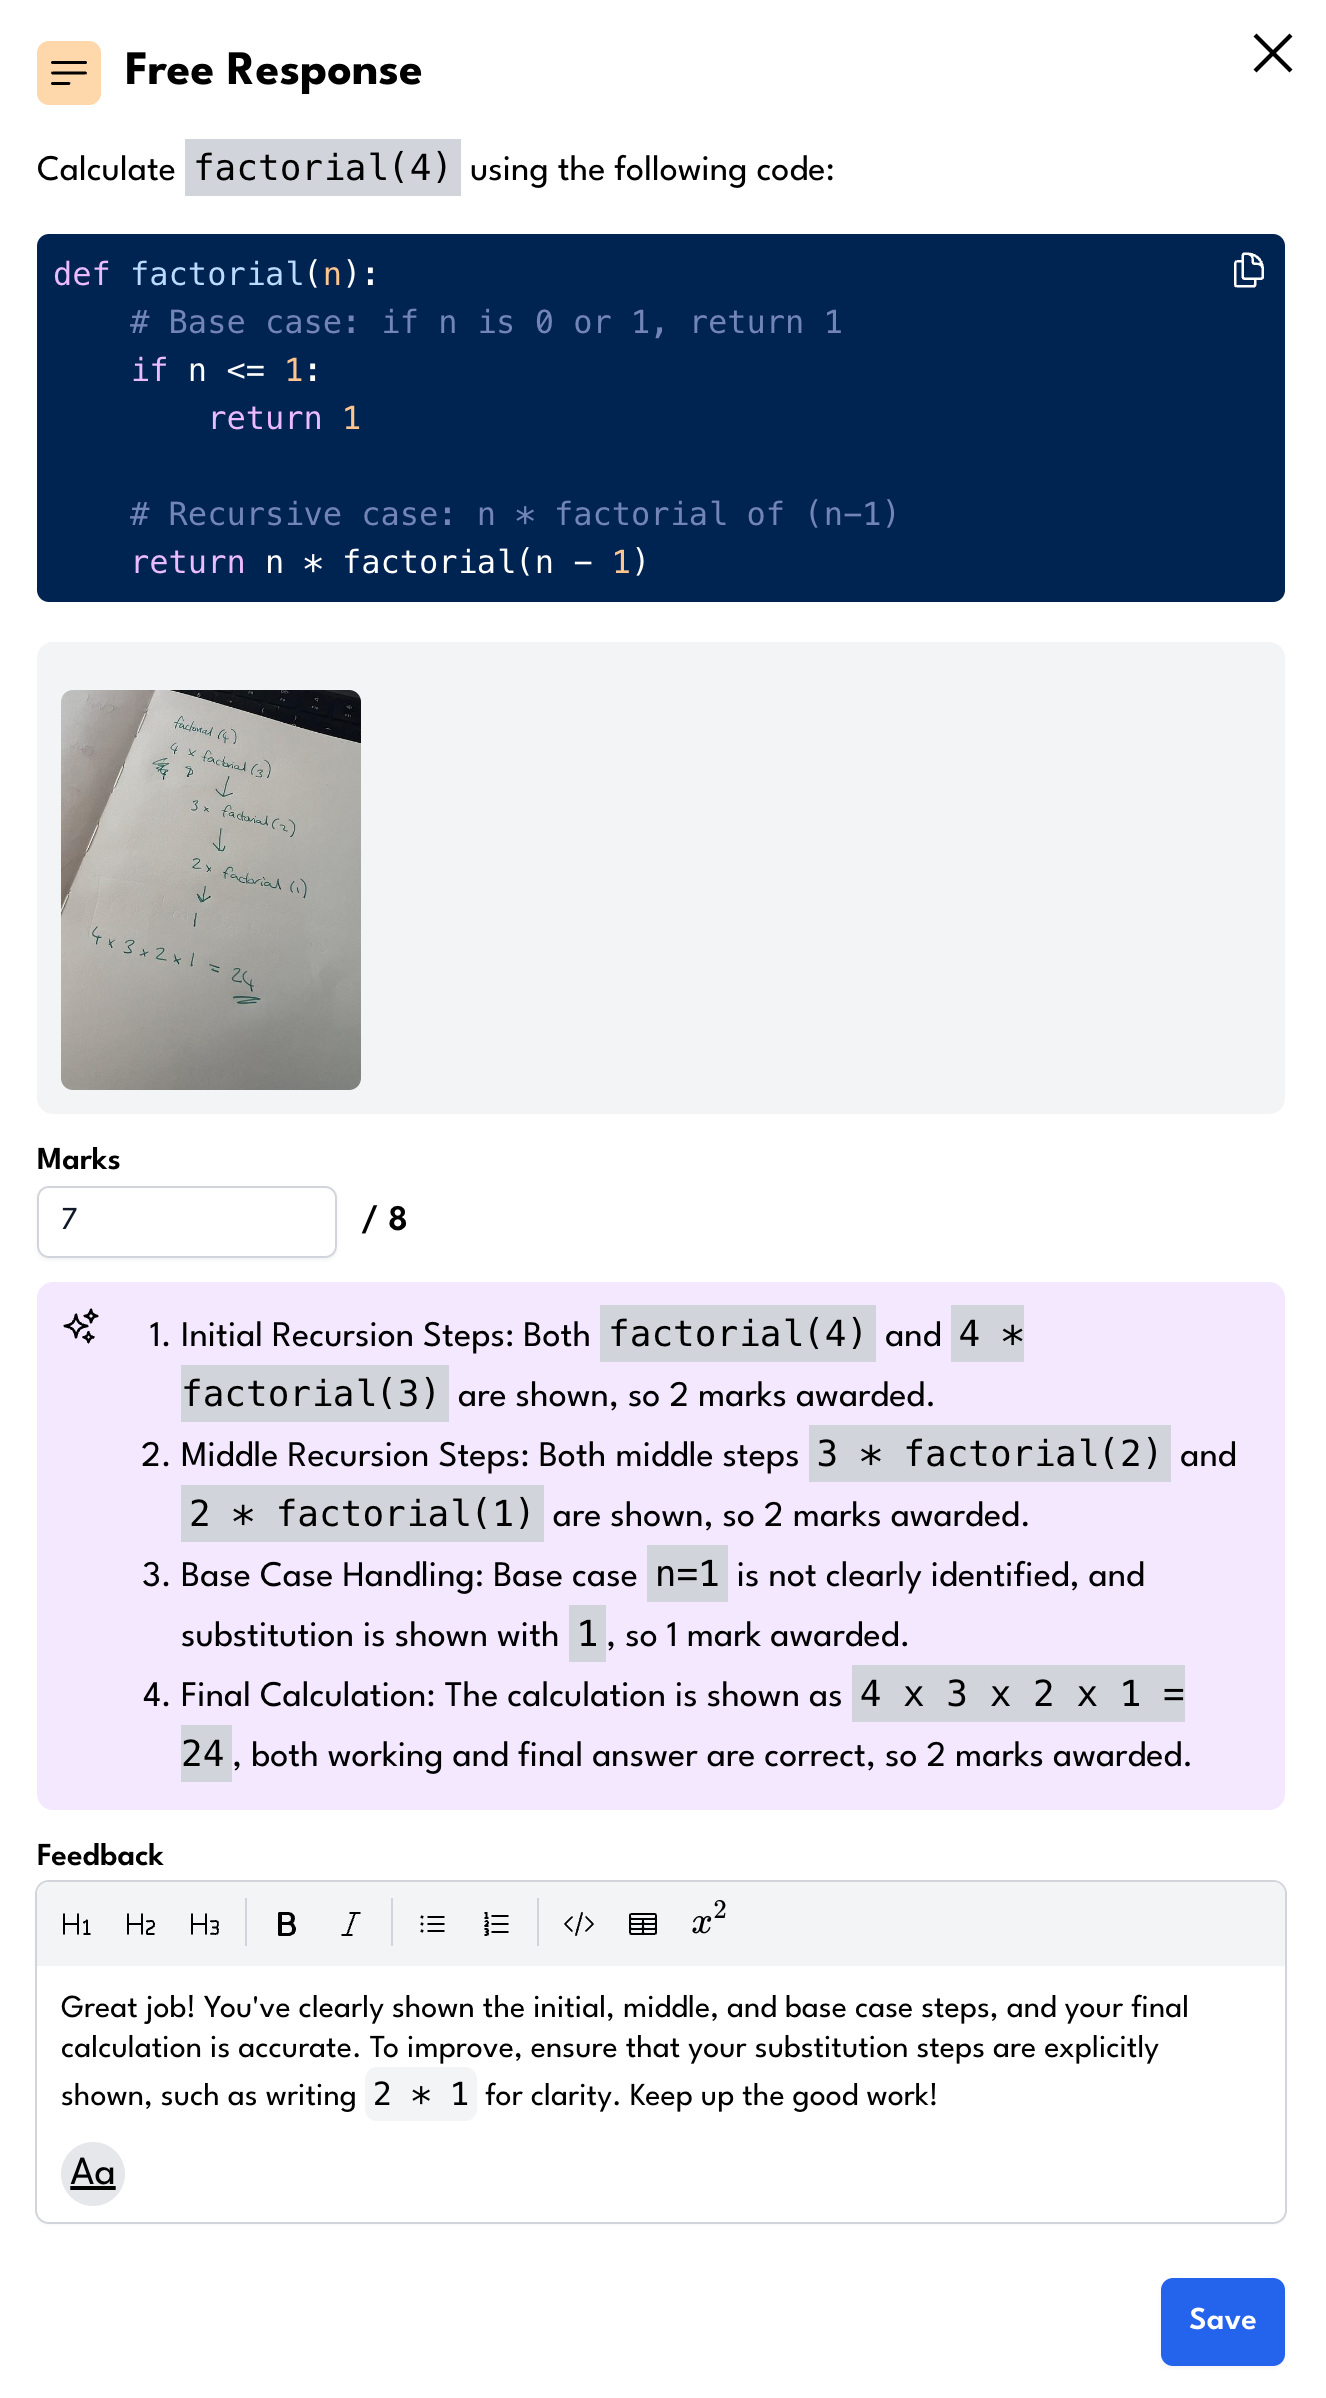
Top Tip: Use this review step to ensure accuracy. If a grade or comment doesn’t fit, adjust it before finalizing. Automarking’s transparency gives you control and flexibility.
Step 6: Return Grades and Feedback to Students
Once satisfied with grading, return the marked work to students individually or in bulk. Starting with individual returns ensures the AI applies your criteria correctly. Students receive their scores and feedback, helping them understand their strengths and areas for improvement.
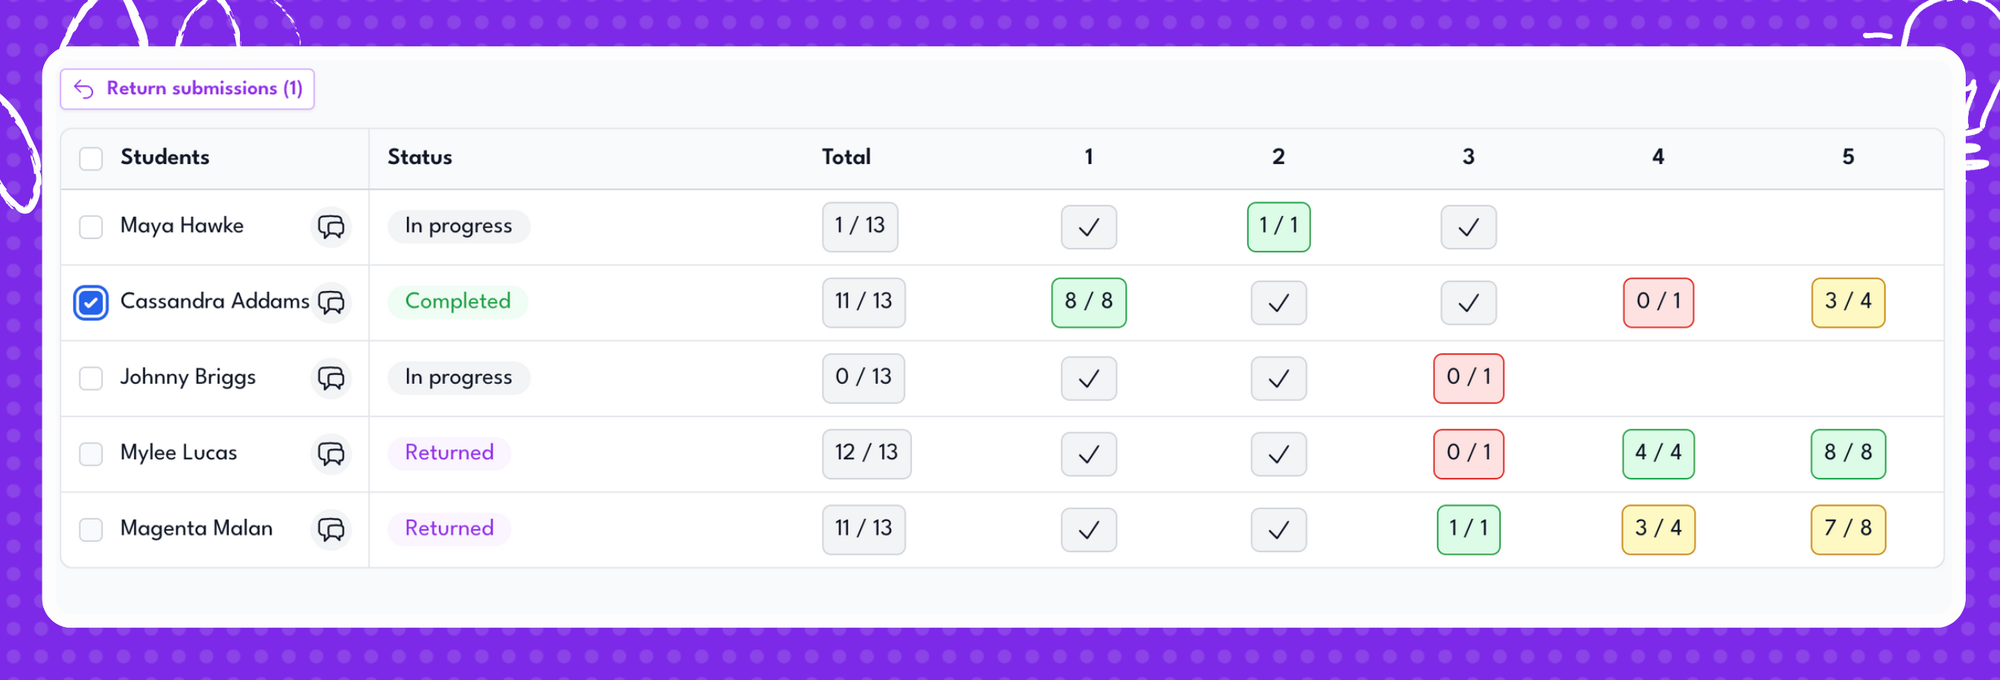
Top Tip: Automarking is a powerful tool, but your moderation ensures it aligns with your standards. Once confident, save time by returning feedback in bulk.
Why Automarking Matters for Educators and Students
Automarking simplifies grading while adding consistency and depth to assessments. It enables educators to provide meaningful feedback without spending hours on manual grading. The AI-driven process transforms assessments into valuable learning experiences.
By following these steps, Automarking can turn grading into a more interactive and efficient process for you and your students. Try it with Courses and see how it can enhance your approach to STEM assessments.
